17.Redis客户端使用
Redis客户端使用
1. 工具安装
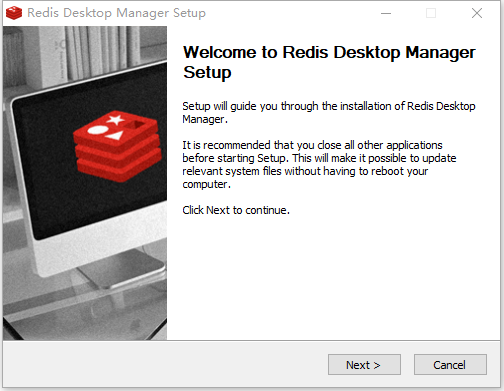
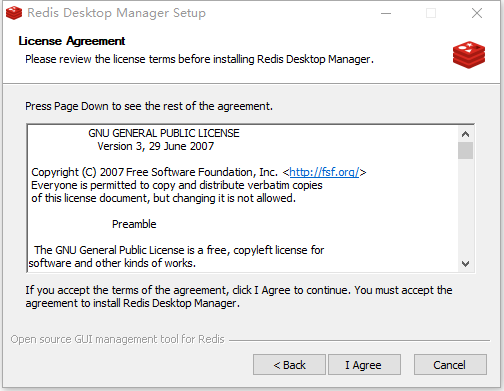
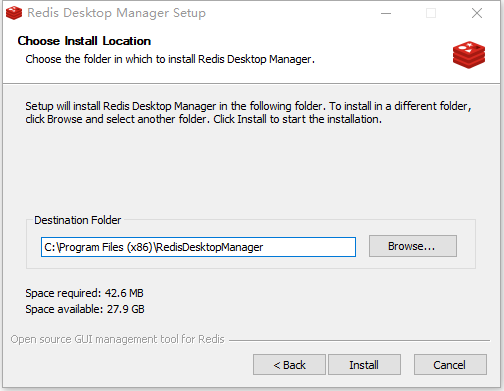
(1) 安装redis-desktop-manager
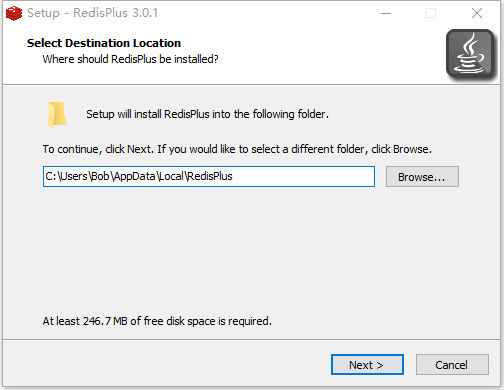
(2) 安装redis plus
2. 连接redis
2.1 配置redis.conf文件
1 | # 设置为0.0.0.0,允许所有地址访问 |
2.2 关闭防火墙:
1 | Centos6 |
1 | [root@localhost my_redis_tools]# systemctl status firewalld |
1 | [root@localhost my_redis_tools]# firewall-cmd --state |
2.3 启动redis
1 | [root@localhost my_redis_tools]# /usr/local/redis-6.0.9/bin/redis-server redis.conf |
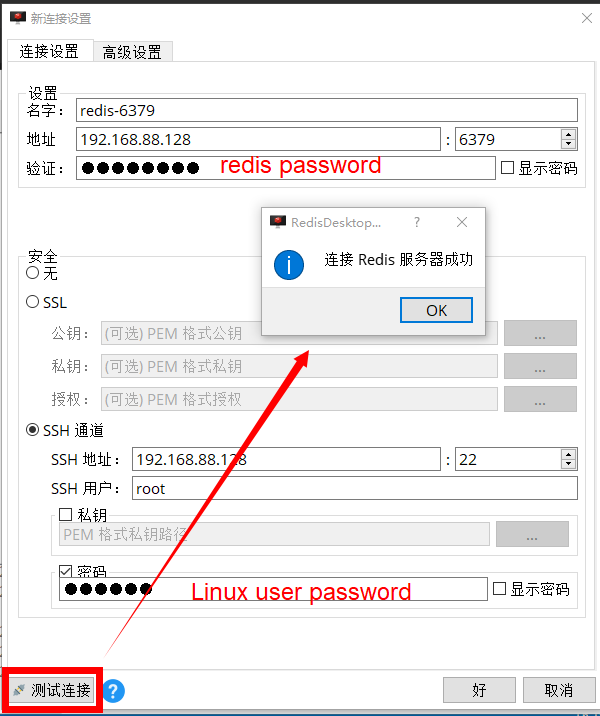
2.4 工具连接
(1) redis-desktop-manager
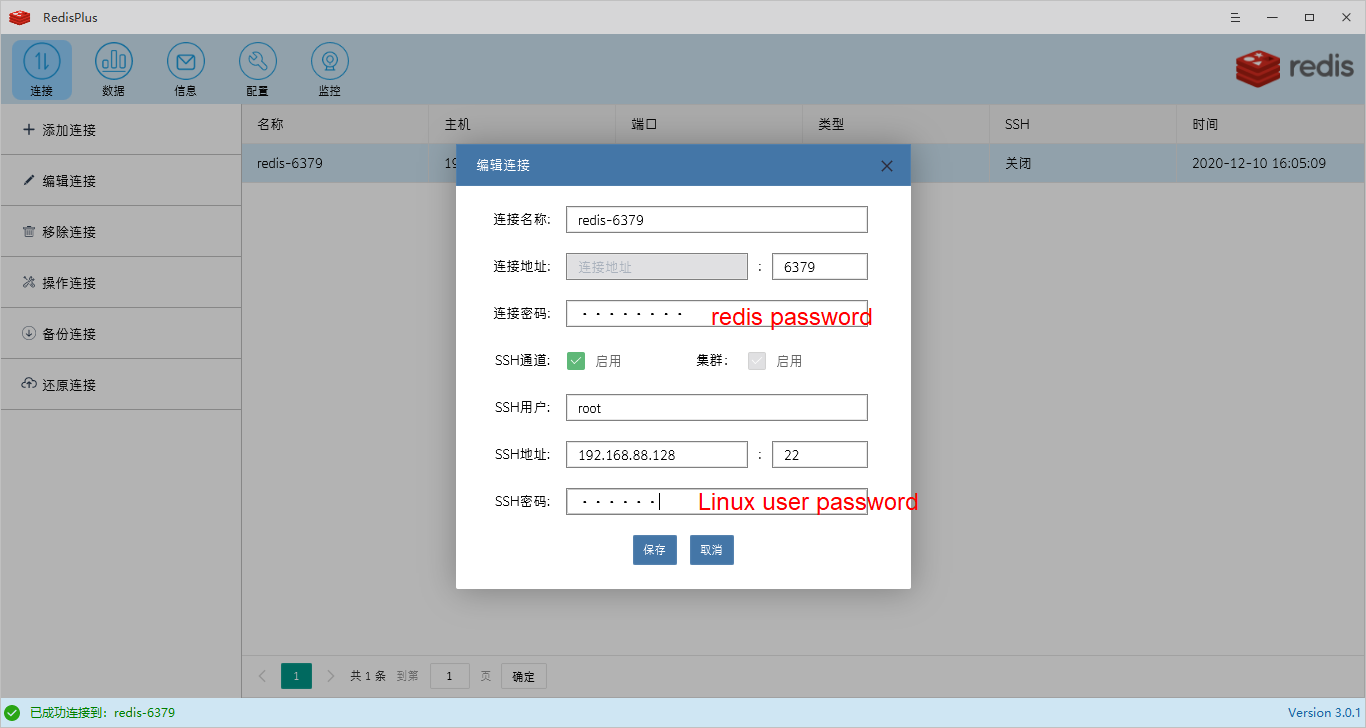
(2) redis plus
2.5 工具使用
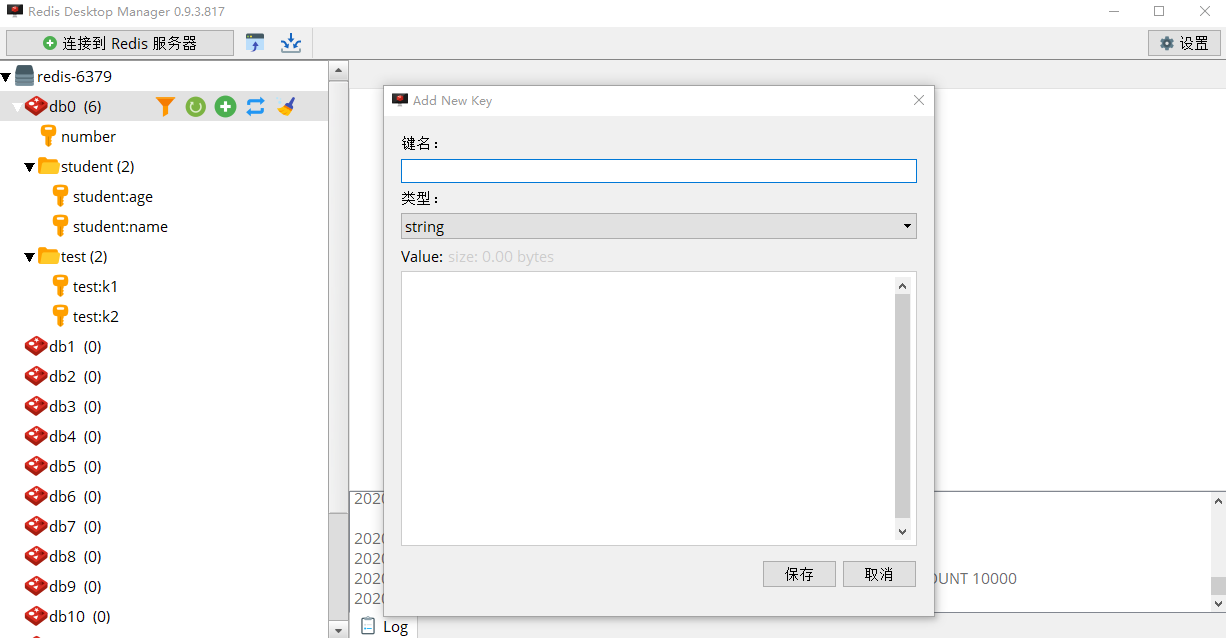
(1) redis-desktop-manager
key值使用:分隔,例如student:name,student:age,可以实现文件夹层级
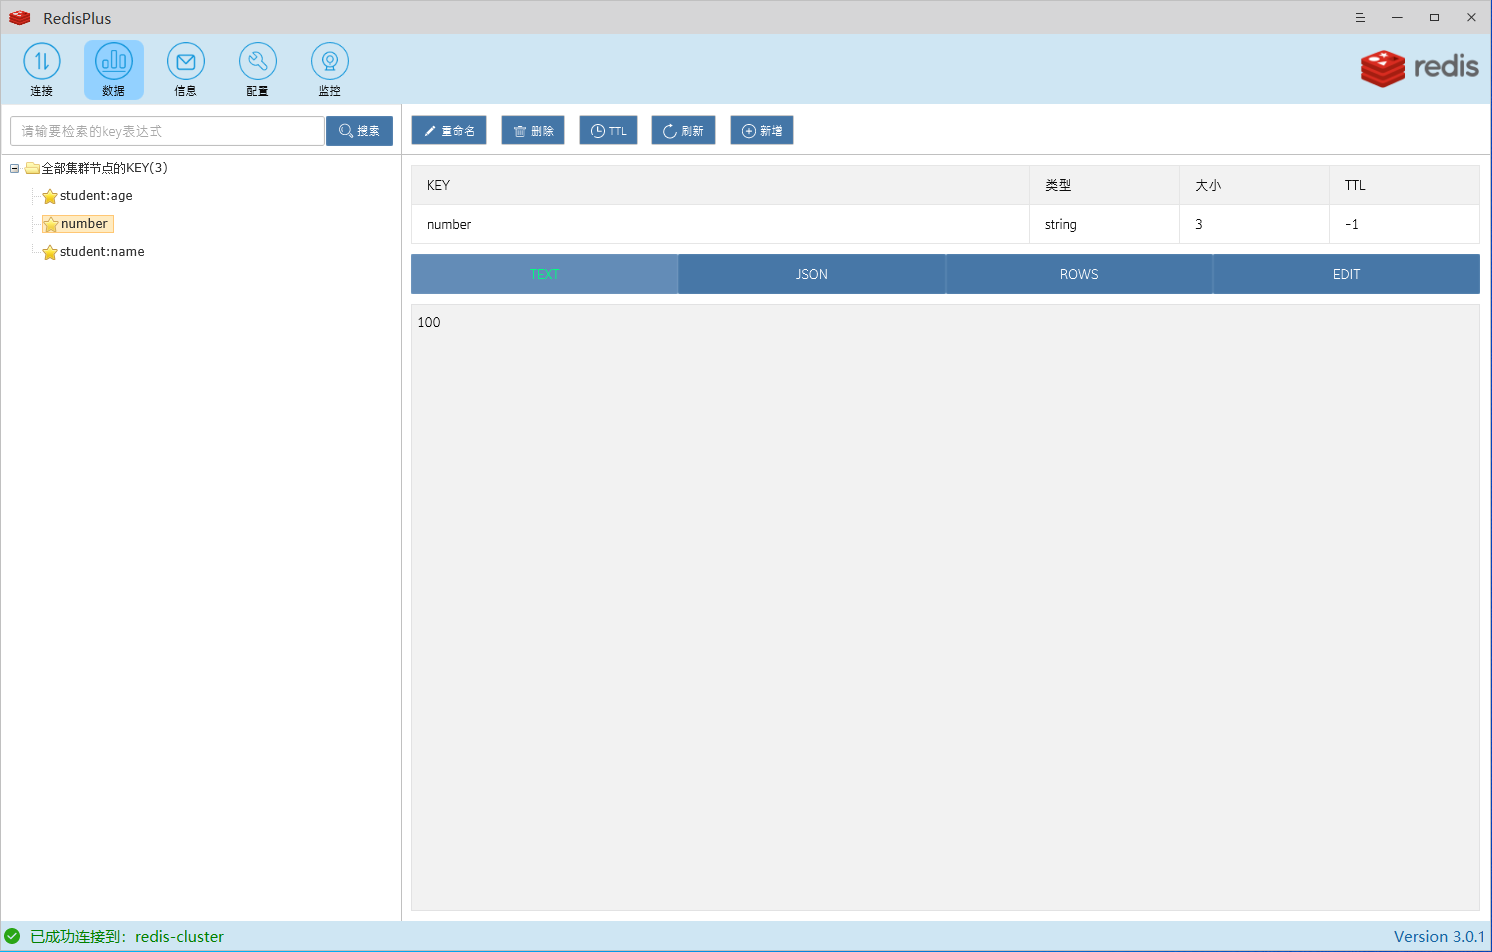
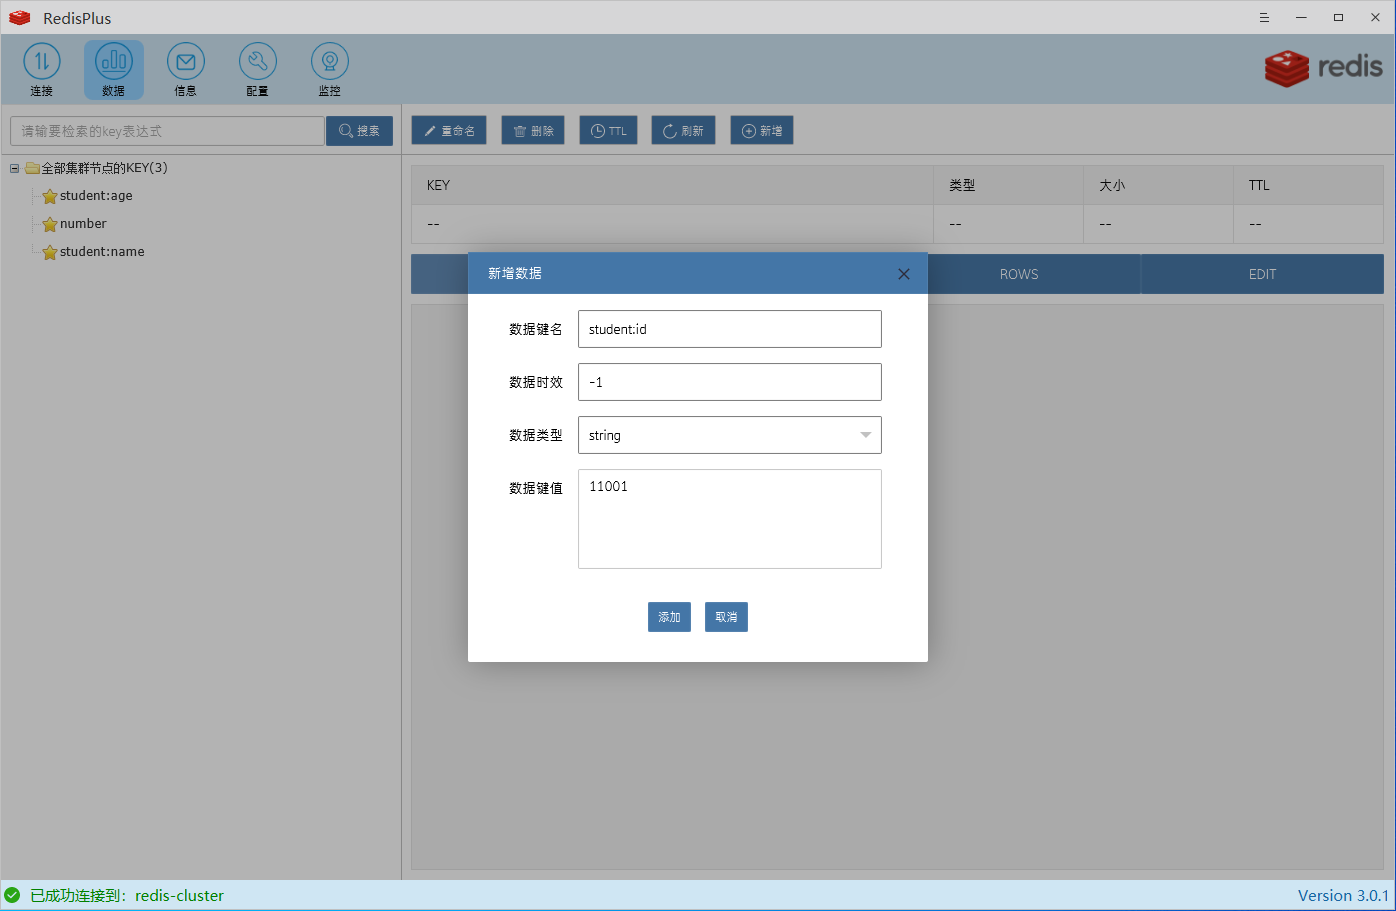
(2) redis plus
没有实现key值文件夹层级
2.6 连接集群
2.6.1 新建文件夹
1 | [root@localhost redis-6.0.9]# mkdir redis_cluster |
2.6.2 准备服务端程序
复制redis-server和redis-cli文件
1 | [root@localhost redis_cluster]# cp /usr/local/redis-6.0.9/bin/redis-server . |
2.6.3 准备6个redis的配置文件
创建文件夹,配置redis.conf文件
1 | [root@localhost redis_cluster]# mkdir redis-1 |
1 |
|
2.6.4 同时启动所有的redis
1 | [root@localhost redis_cluster]# ./redis-server redis-1/redis-7001.conf |
2.6.5 创建集群(分配槽)
1 | [root@localhost redis_cluster]# ./redis-cli --cluster create 192.168.168.130:7001 192.168.168.130:7002 192.168.168.130:7003 192.168.168.130:7004 192.168.168.130:7005 192.168.168.130:7006 --cluster-replicas 1 |
1 | [root@localhost redis_cluster]# ./redis-cli -c -h 192.168.168.130 -p 7001 |
2.6.5 redis plue连接集群
redis-desktop-manager连接集群有bug,因此使用redis plus连接集群
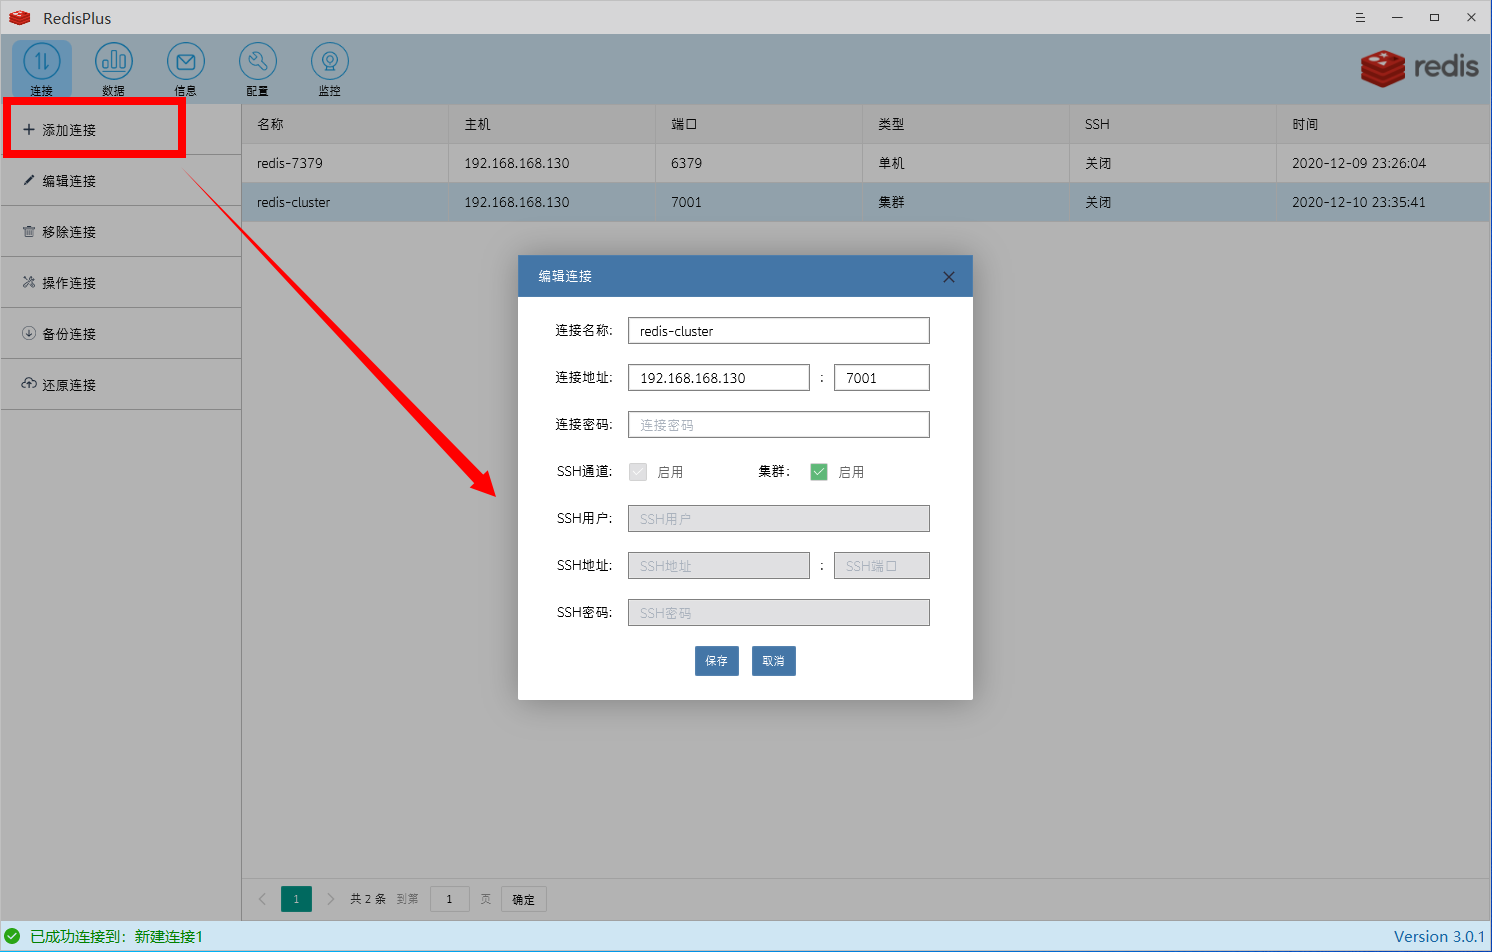

1 | [root@localhost redis_cluster]# ./redis-cli -c -h 192.168.168.130 -p 7001 |
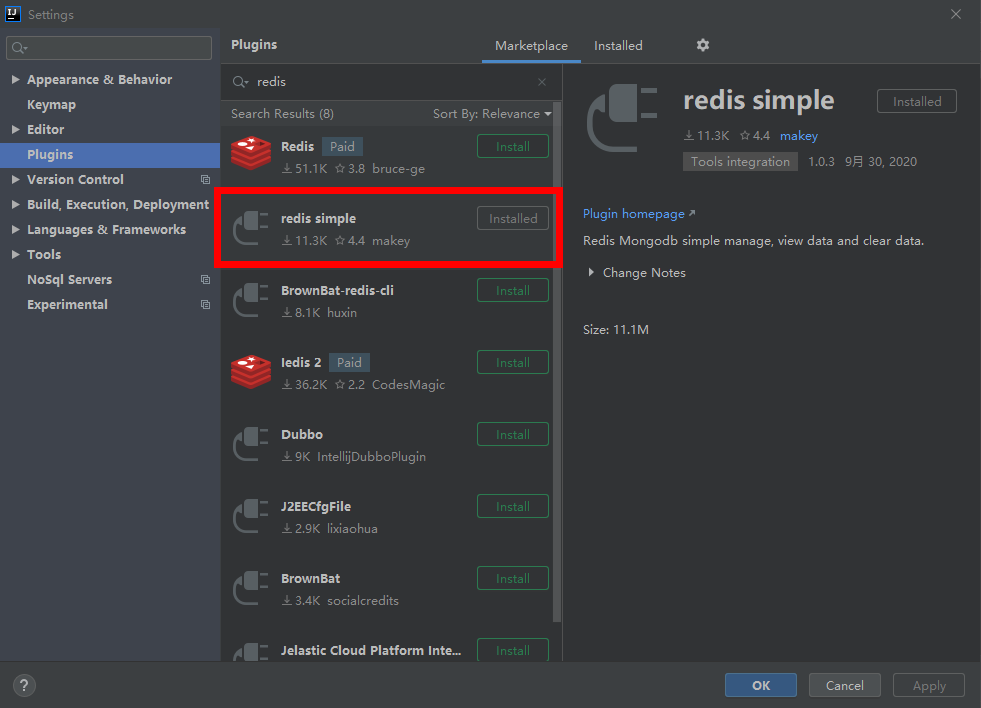
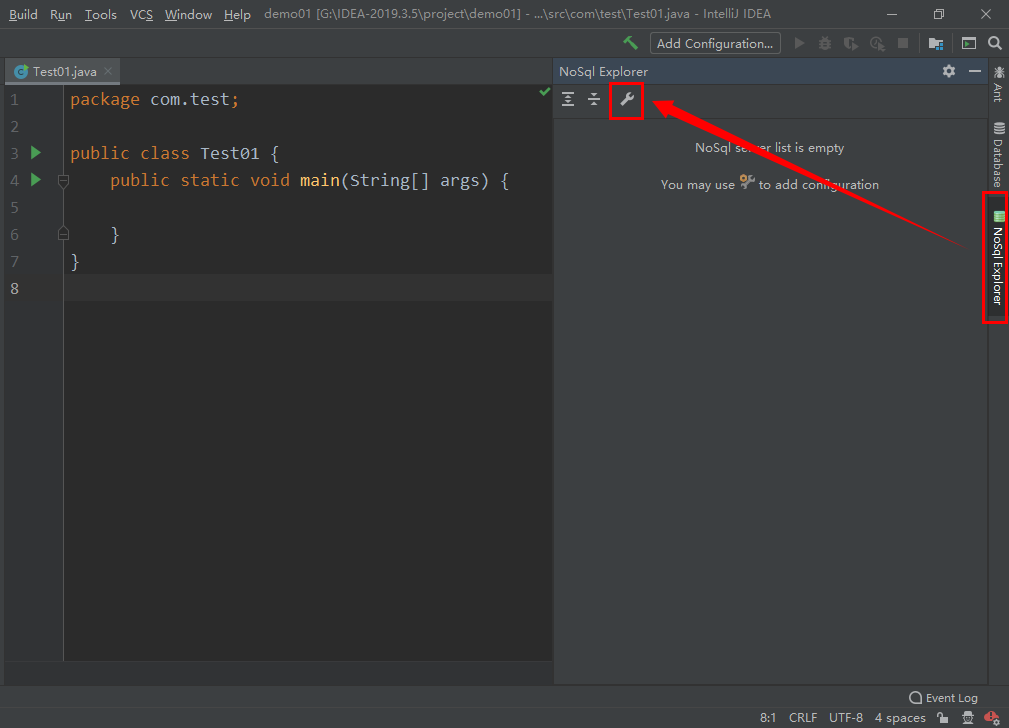
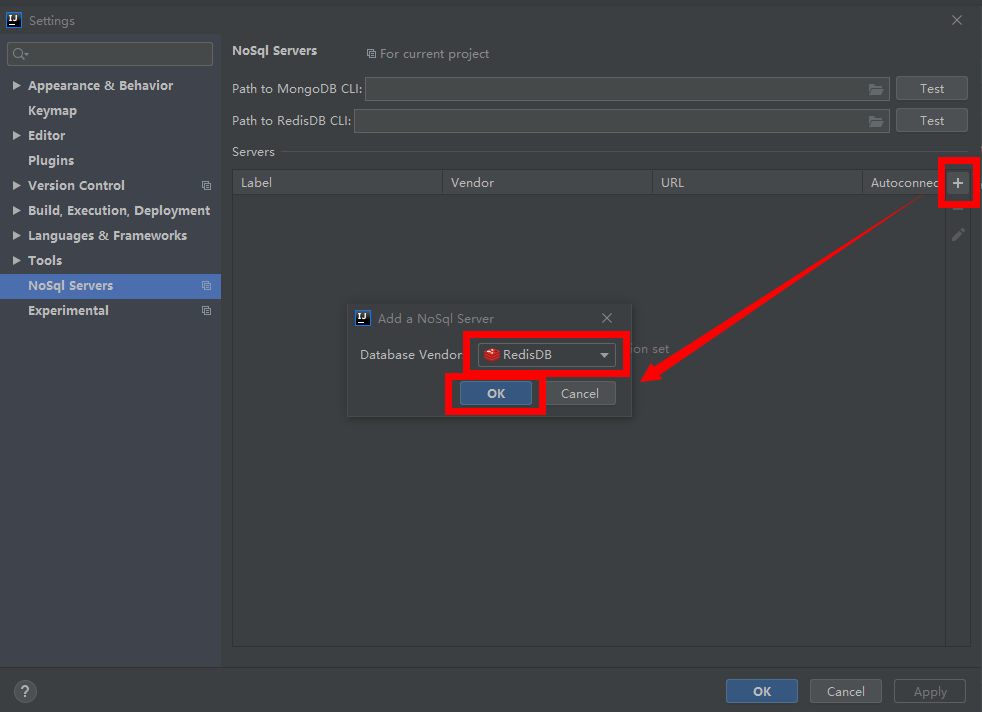
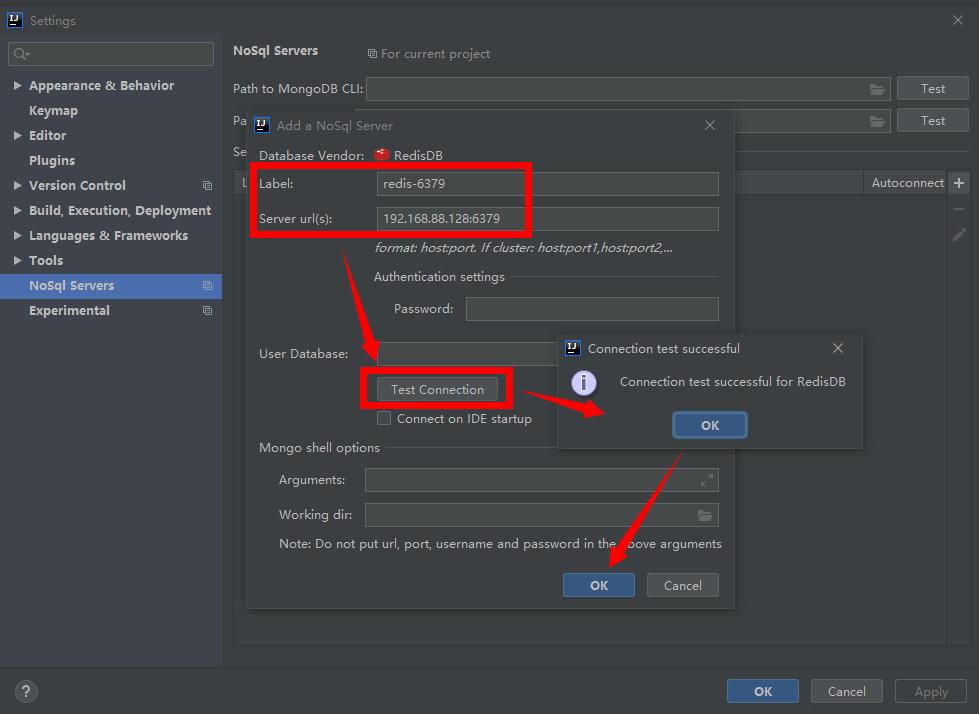
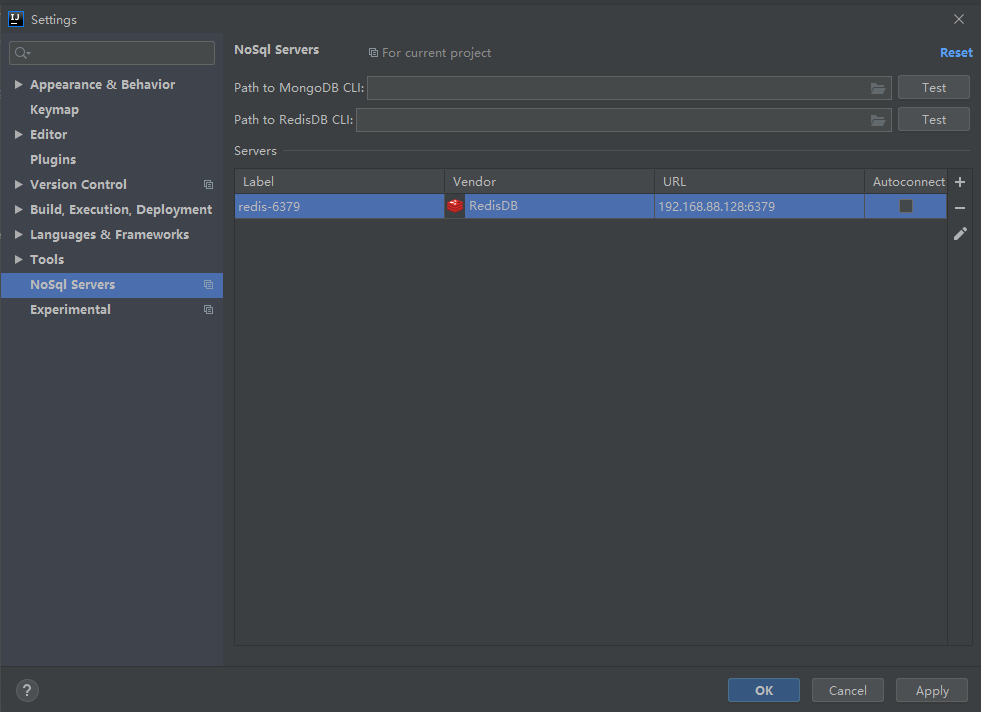
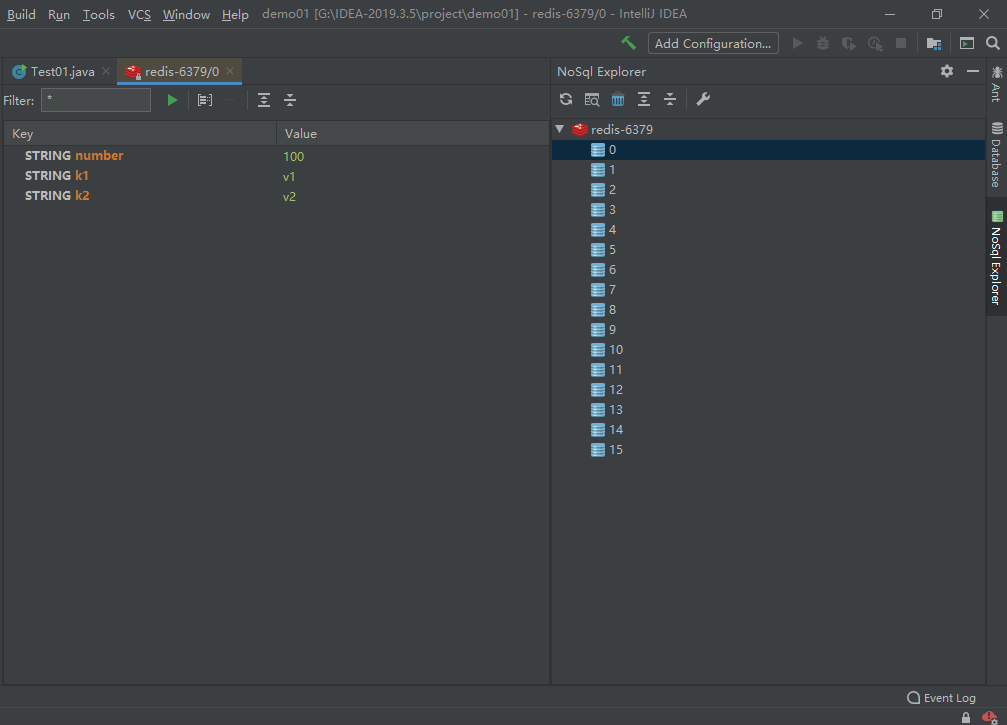
3. IDEA安装使用redis插件redis simple